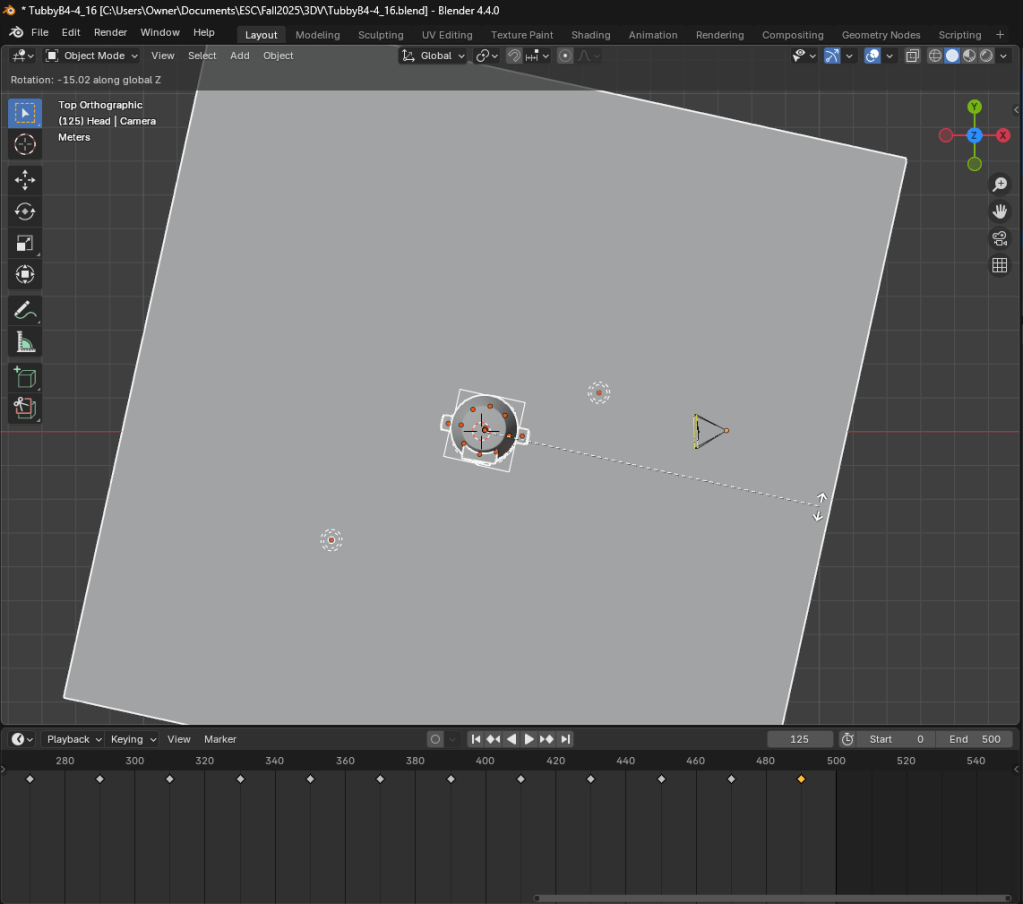
Rather than move the camera around, since this was a simple 360 degree view, I decided to keep the camera in a fixed position and instead rotate Tubby, the ground, and the lights. Every 20 frames I rotated everything on the Z axis by -15 degrees and set a keyframe. This ensured smooth rotation at a constant speed.
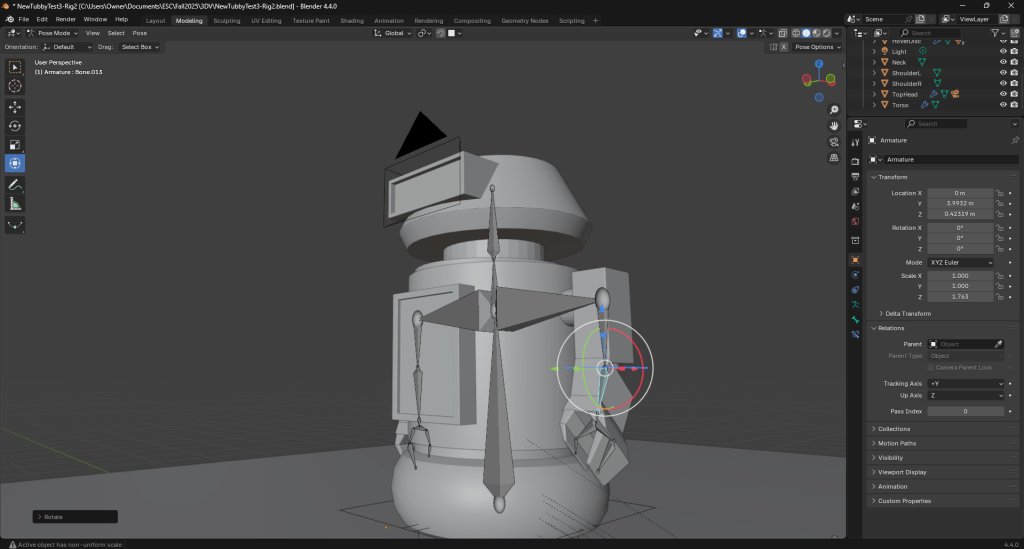
Next I created an armature for Tubby to begin animating the character itself.
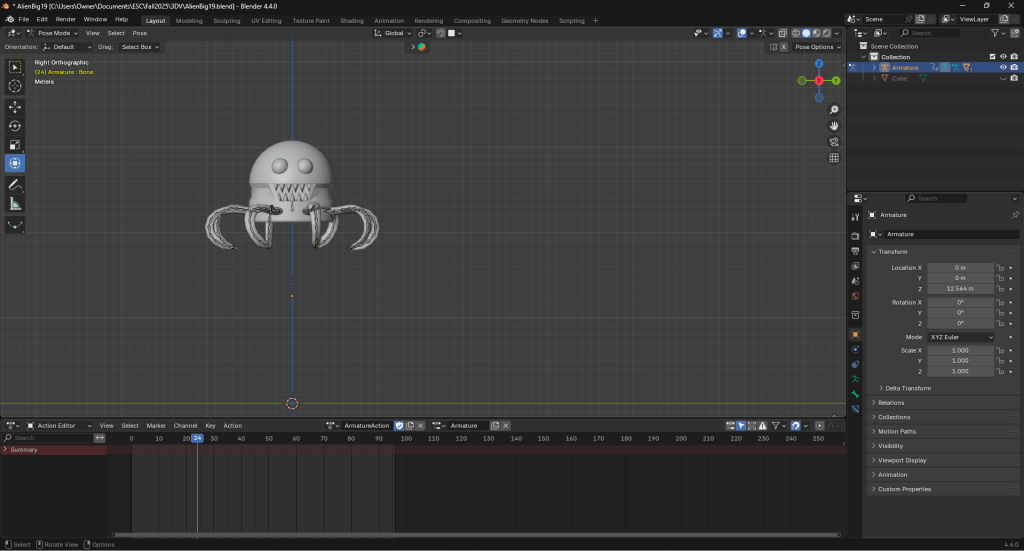
Moving on, I started working on the animation for “Legs”, the octopus-like alien that will be pursuing Tubby.
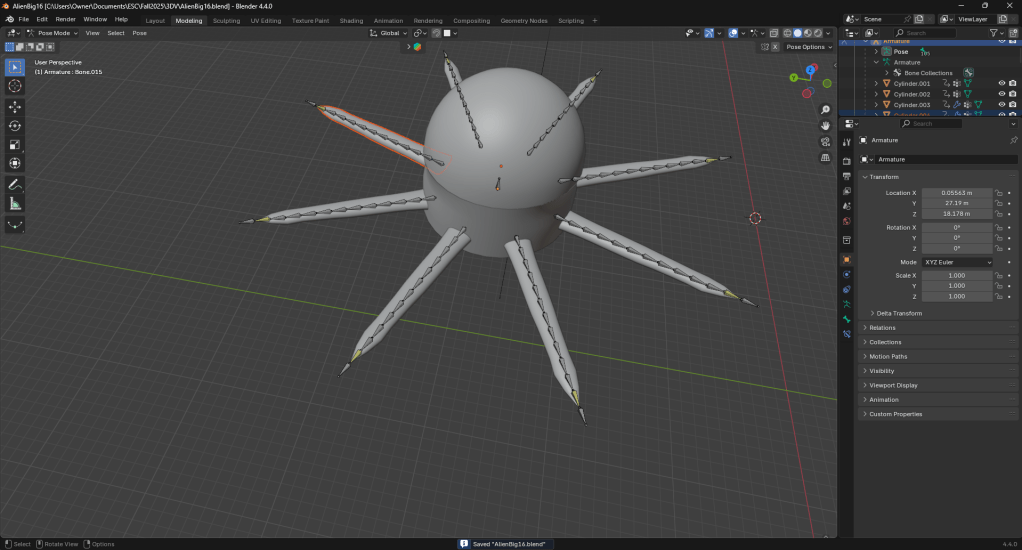
This tutorial really helped me with rigging Legs’ legs.
This tutorial taught me how to use the action editor to create a swim cycle for legs.
Going back to Tubby, I decided to go a bit further with his animation. For this test I made use of a path and path constraint to have Tubby loop around rather than just using constant keyFrames. Additionally, the shader editor, shader nodes, and node wrangler were used to create and animate the thruster propelling Tubby. Finally, I tried a few camera tricks such as camera tracking, markers, and camera binding, as well as the video sequencer to add sound.
These are the tutorials that got me to this point.
